Restaurant Furniture Handling Points: Train Staff to Lift Without Loosening Joints
Define safe handling points for dining chairs and tables so routine room resets do not loosen joints, damage glides, or mark floors.
Quick answer: Give every restaurant chair and table an approved handling point. Train staff to grip the structural frame, keep the load close, clear the route, and lift instead of pulling on backs, upholstery or tabletop edges. Match the method to the item: one-person lift, two-person lift, chair dolly or table cart. Clear handling rules reduce loose joints, damaged glides, marked floors and staff strain.
Furniture damage during room resets is rarely mysterious. It often begins when a chair is lifted by an upholstered back, a pedestal table is dragged from one edge, or a large top is twisted through a doorway. The movement may look harmless, but the force travels through joints and fixings in ways the product was not designed to accept. A simple handling-point plan turns that invisible risk into a repeatable staff routine.
What is a handling point?
A handling point is the part of a chair or table that staff may safely grip when moving it. It should be structurally connected, easy to reach and unlikely to pinch fingers. The approved point can differ by model. On one dining chair it may be the side rails below the seat; on another it may be a rigid metal frame. The decorative back is not automatically a handle.
For tables, define both grip points and team size. A small, balanced two-top may be lifted by one trained person from the base or frame. A long top may require two people positioned at opposite ends. A pedestal table can become top-heavy when tilted, so the route and receiving position matter as much as the initial grip.
Start with the product, not a generic poster
Inspect every model used in the venue. Turn the chair over and identify the load-carrying frame, seat fixings, joints and glides. Look under the table for mounting plates, rails, inserts and cable components. Compare the construction with the supplier’s guidance. A restaurant dining chair with an upholstered shell needs different handling from a simple welded metal dining chair.
Take a clear photo of the correct grip for each model and place it in the reset guide. Also photograph the prohibited grips. This is especially useful where furniture looks similar but uses different construction. Avoid vague directions such as “be careful.” Staff need to know exactly where hands go, how many people are required and what equipment should be used.
Map the complete move
Safe lifting is only one part of handling. Walk the real route before the event. Check door width, tight turns, changes in floor level, wet areas, service traffic and the final storage position. Remove obstacles before furniture begins to move. A clear route reduces the temptation to pivot a table on one foot or rest a chair against a wall while another item passes.
- Confirm that tabletops are cleared of glassware, lamps, menus and loose accessories before moving.
- Close doors or assign a spotter where a blind corner crosses a kitchen or service path.
- Protect finished walls and door frames at predictable contact points.
- Keep emergency exits, fire equipment and accessible routes clear throughout the reset.
- Stage carts and receiving spaces before the first chair or table leaves the dining room.
Teach the chair lift
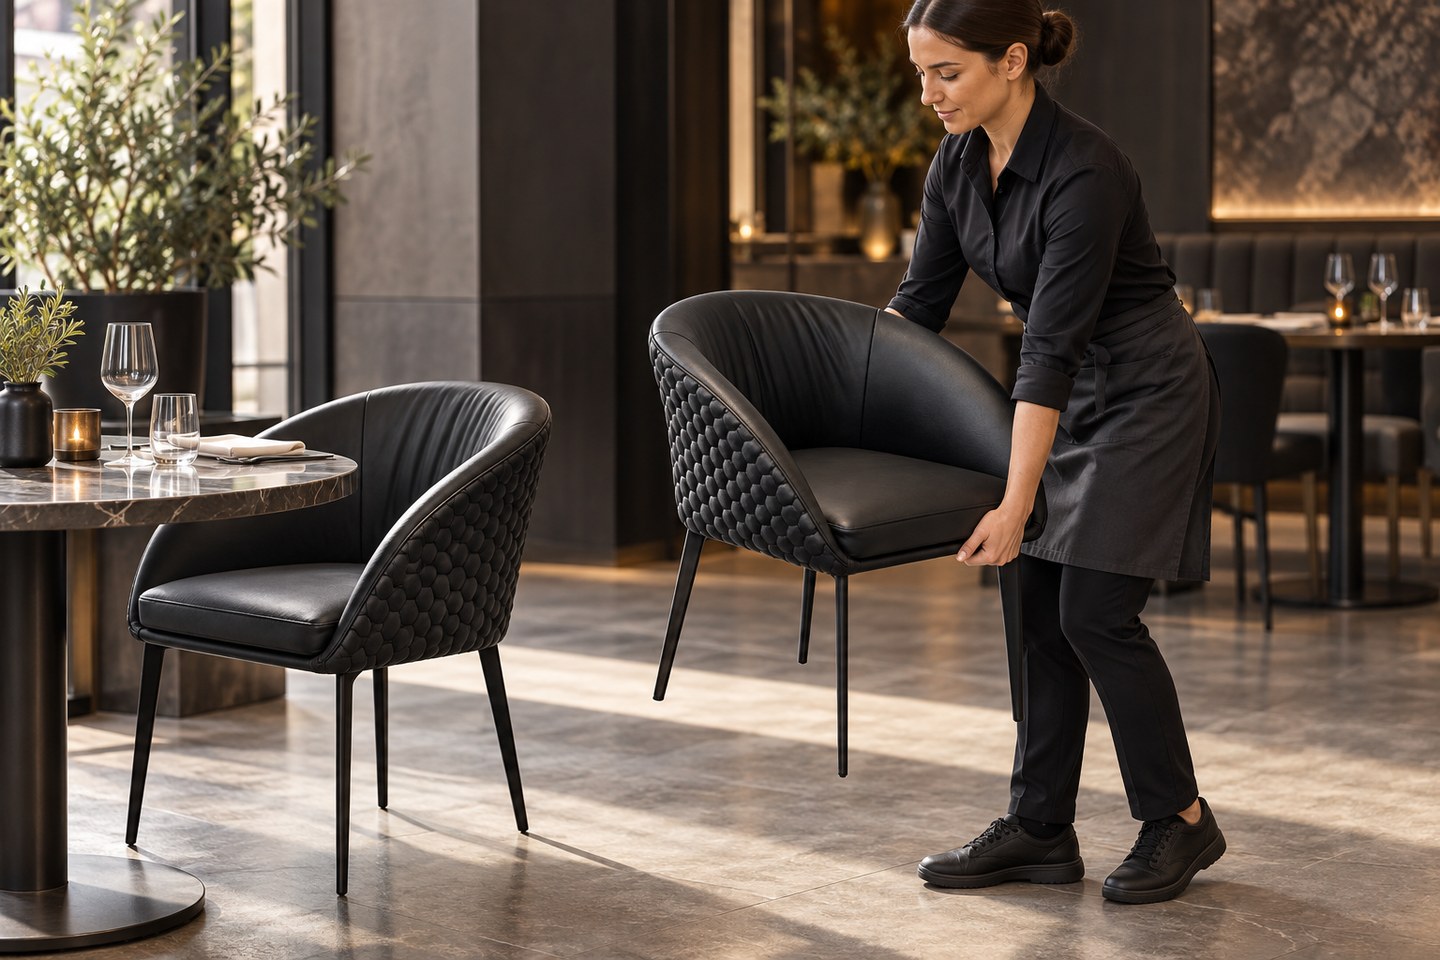
Ask the staff member to stand close to the chair, use a balanced grip on the structural frame and lift only high enough to clear the floor. Keeping the chair close improves control. Carrying it far from the body makes the effective load feel heavier and increases the chance that a leg strikes another chair, a table edge or a doorway.
Do not use upholstery seams, loose cushions, small decorative rails or a single arm as a lifting point unless the manufacturer specifically approves it. Pulling by the back can rack a frame, especially when one rear leg catches on the floor. If chairs are stackable, keep hands away from pinch zones and follow the rated stack count. The broader chairs and seating range can help buyers compare frame and back shapes before choosing a model for frequent resets.
Teach the table move
Clear the table, move chairs away and check that the planned destination is ready. For a one-person table, grip the base or underframe symmetrically so the top stays level. For a two-person table, agree on commands before lifting: ready, lift, stop and down. Both people should move at the same pace and set the table onto all feet rather than dropping one edge.
Never assume the tabletop edge is an approved handle. Pulling from one corner applies torque to the mounting plate and may loosen screws or inserts. On stone, glass or composite tops, concentrated edge force can also create damage that is not immediately visible. Review dining table options with the intended moving method and total assembled weight in mind.
Choose equipment that fits the furniture
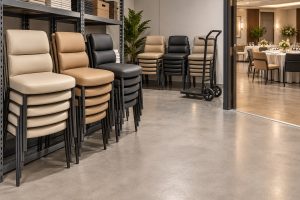
A dolly or cart helps only when it supports the item correctly. Chair dollies should match the chair geometry and keep stacks stable. Table carts should restrain tops or folded units without placing pressure on finished edges. Wheels need a suitable load rating, brakes where required and a tread that will not mark the floor.
Store the equipment near the area of use. A cart locked in a distant store is likely to be skipped during a fast turnaround. Give it a labeled parking position and include wheel, strap and handle checks in the maintenance routine. When a furniture move exceeds a comfortable manual task, pause and use mechanical help or divide the load.
Create a five-minute training drill
- Show the approved and prohibited grip points on the actual chair and table models.
- Have each staff member lift, carry, turn and place one item on the real route.
- Demonstrate a two-person table move with clear verbal commands.
- Practice stacking or loading the correct cart without exceeding the stated capacity.
- Finish with an inspection: check glides, wobble, finish contact and the final aisle.
Keep the drill practical. It should reflect the dining room, not a generic warehouse exercise. New starters can complete it during onboarding, and the team can repeat it before a large private event or major layout change. Managers should model the same technique; shortcuts by supervisors quickly become the unofficial standard.
Use visual cues without damaging the product
A small mark on the reset plan can indicate team size and cart type. If a physical label is needed, place it where it will not affect the finish, upholstery or warranty. Do not add screws, drill holes or apply aggressive tape to identify a grip. For premium dining rooms, staff-only photographs kept in the operations guide are usually enough.
Inspect the points that movement stresses
After a busy reset, check the areas that absorbed the load: chair joints, mounting bolts, back connections, glides, table plates, adjustable feet and finished edges. A slight change in sound or movement may be the first sign of a developing problem. Isolate unsafe items rather than returning them to service because the dining room is busy.
- Chair rocks on a level test surface or a joint moves under light hand pressure.
- Table top rotates relative to the base, or fasteners will not hold the correct torque.
- Glide is missing, split, excessively worn or pushed into the leg.
- Upholstery attachment separates where staff often grip the chair.
- Finish wear repeats at the same stacking or doorway contact point.
Connect handling to the purchasing brief
When buying replacements, provide the supplier with the reset frequency, route constraints, floor type, maximum lift weight and preferred equipment. Ask for exact assembled weights, safe grip guidance, stack limits and replaceable glides. If a room is reset daily, serviceability deserves as much attention as color. Share the floor plan and operating conditions through the project contact page before confirming a large order.
Track damage by model and move type for the first three months. If problems cluster after stacking, revise the stack method or chair choice. If table plates loosen after two-person carries, check the approved grip and fastening design. The aim is not to blame the person who moved the item; it is to align product, method, equipment and training.
Frequently asked questions
Where should staff lift a dining chair?
Use a solid frame member below the seat or another point approved by the supplier. Avoid lifting by loose cushions, decorative trim, a flexible back panel or a single arm unless that part is designed as a handle.
Should restaurant tables be dragged for short moves?
Usually no. Dragging loads one edge, can loosen the base connection and may damage glides or flooring. Use a controlled lift, a two-person move or an appropriate cart based on the table’s weight and shape.
How often should handling training be repeated?
Include it in onboarding, then refresh it when layouts change, new furniture arrives or inspection records show repeat damage. A brief demonstration before major events is often more useful than an annual memo.
What should be removed from service immediately?
Remove items with cracked structural parts, unstable bases, separated joints, sharp edges, missing feet that expose metal, or damage that could worsen under guest load. Label and isolate them until a competent repair decision is made.
Share this article: