Restaurant Room Reset Damage Audit: Find Failures After Private Events
Use a short location-and-movement audit after private events to find loose table connections, damaged chair glides, finish wear, and repeat failure patterns.
Quick answer: Audit restaurant furniture immediately after a private-event reset. Walk the route, check the zones that moved most, test table stability, inspect chair joints and glides, and record defects by location and movement method. A five-to-ten-minute log can reveal whether damage comes from a specific doorway, stack, cart, floor transition or table configuration before the same failure repeats.
Private events compress a week of ordinary furniture handling into a short turnaround. Tables are joined, chairs are relocated, service lanes change, and the room is returned to normal under deadline pressure. The next service may begin before anyone notices a loose base or missing glide. A room reset damage audit closes that gap without turning the dining room into a workshop.
Separate condition from cause
The audit has two jobs. First, it identifies furniture that is unsafe or not ready for guests. Second, it preserves enough context to explain how the problem developed. Writing “chair loose” is useful for isolation but weak for prevention. Writing “rear-left joint loose after the chairs from Zone C were carried through the narrow service door” gives operations and purchasing something to investigate.
Avoid assigning blame before evidence is collected. A defect may come from the moving method, a damaged cart, an unsuitable glide, an under-specified connection or previous wear. The log should describe what was observed, where it was found and how the item was moved. Patterns across several events are more reliable than one assumption.
Create a fixed inspection route
Use the same clockwise or zone-by-zone walk after every reset. Begin at the storage exit, follow the movement path, and finish at the restored dining layout. Consistency makes omissions less likely and helps managers compare events. Number or name the zones on the floor plan so staff can report a location quickly.
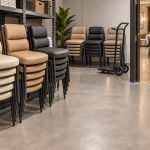
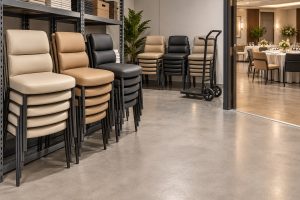
- Storage bay and stack contact points.
- Door frames, thresholds, ramps and tight turns.
- Temporary staging area used during the event changeover.
- Joined-table rows and the positions where tops were separated.
- High-traffic service lanes and chairs nearest walls or columns.
- Final room layout, including accessible routes and emergency egress.
At each zone, look at both furniture and surroundings. A fresh wall mark may show where chair backs make contact. A line on the floor can indicate a damaged glide or a table that was dragged. Repeated marks at one threshold may justify a route change or protective equipment even when individual furniture damage is small.
Check tables in service position
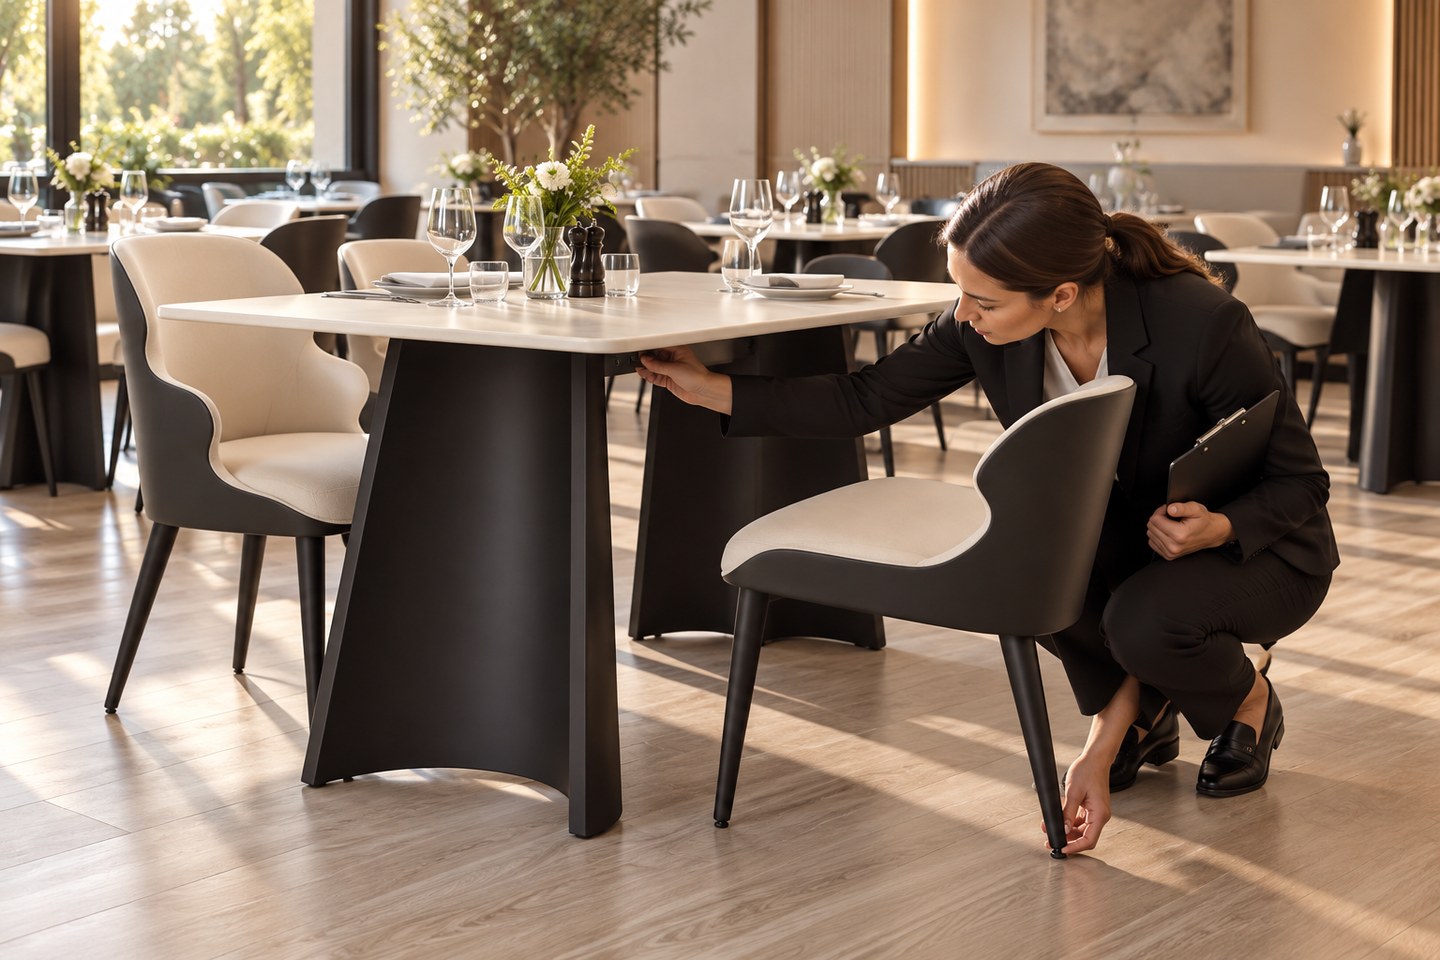
Place every table where guests will use it before testing. A base that seems level in storage may wobble on the dining-room floor. Apply light hand pressure at opposite edges and observe movement without sitting or climbing on the table. Check that adjustable feet remain engaged and that no improvised wedges are present.
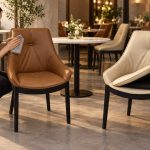
Inspect the connection between top and base. Look for rotation, visible gaps, shifted mounting plates, elongated holes or fasteners that no longer hold. On a set such as the dining table and chairs combination, confirm the chair positions do not encourage guests or staff to strike the table supports during normal use.
Examine tabletop edges and corners under raking light. Event joins can create impacts where two tops meet, and moving one table while another remains fixed may chip a finish. Record whether damage is cosmetic, serviceable or structural. Isolate tops with sharp edges, cracked material or insecure mountings.
Check chairs where the movement loads appear
Set each sampled chair on a known level area. Press lightly at the back and arms while watching the joints; then sit-test only if the frame appears sound. Check all glides and compare leg contact. A missing or compressed glide can make a chair rock and can damage both leg and floor.
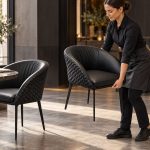
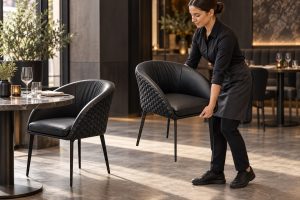
Look at the points staff touch during resets. Upholstery wear near the top of a back may show that the chair is being carried by a non-structural area. Finish rub on side rails can show incorrect stacking contact. Review examples in the chairs and seating collection to see how frame geometry changes the likely grip and contact points.
Classify findings for immediate action
Use a simple traffic-light response. Red items leave service immediately: cracked structural frames, separated joints, unstable bases, sharp edges or exposed leg ends. Amber items can be scheduled for timely repair if they remain stable and hygienic, such as a worn glide or minor finish damage. Green observations are monitored but need no intervention.
- Red: isolate, label and prevent guest use until a competent repair or replacement decision is made.
- Amber: assign a repair owner and deadline, then verify the item before returning it to the normal pool.
- Green: record early wear or a repeating contact mark and review it at the next audit.
- Route issue: correct the door, threshold, cart, storage or staffing problem even if the furniture is still usable.
Do not hide a defect by moving the item to a quieter section. That breaks the evidence trail and exposes another group of guests. Give isolated furniture a defined quarantine space away from the usable inventory, and make the status visible to the opening manager.
Build a useful event log
The form should take less than ten minutes. Record the event type, furniture quantities moved, layout change, staff or contractor team, route, equipment used and weather if outdoor furniture was involved. For each defect, record the zone, model or batch, component, severity and immediate action. Use consistent defect names so trends can be counted.
Photographs should show context as well as detail. Take one image of the whole item in its zone and one close view of the defect. Use the same angles for repeat inspections. Avoid collecting dozens of unlabelled close-ups that cannot be linked to a chair, table or location.
Review movement patterns, not only defect totals
Five damaged glides in one month can mean different things. If all came from chairs stored on the bottom of an over-height stack, storage is the likely lead. If they appeared at one tile transition, the route deserves attention. If the same chair model fails across several zones, inspect component choice and installation. The location-and-movement fields make those distinctions visible.
- Summarize defects by model and component.
- Group them by room zone, route and event configuration.
- Compare the handling method: carried, stacked, dragged or moved on a cart.
- Check whether the same repair recurs within 30 or 60 days.
- Escalate repeated patterns to training, maintenance, layout or purchasing.
Feed the results back into buying
A damage audit is valuable procurement evidence. It can show that a table needs a stronger mounting interface, that glides should be stocked as consumables, or that a finish is unsuitable for frequent joining. Compare replacement options in the dining tables category and assess the full frame and base, not just the surface style.
For a replacement project, share the event frequency, movement route, observed failure points and expected configurations through the contact page. Ask suppliers how fasteners, inserts, glides and finish contact points are serviced. Include spare parts and inspection guidance in the order.
Keep the audit proportionate
The routine should be short enough to happen after every event and detailed enough to reveal patterns. Start with the highest-movement zones and a sample of each model, then expand inspection when damage appears. Review the monthly summary with operations, maintenance and purchasing. The goal is a room that returns to service safely, plus better information for the next layout and order.
Frequently asked questions
When should the room reset audit happen?
Complete a quick check immediately after the reset while the route and staff actions are still fresh. Do a second stability check before the next service, when tables and chairs are in their final positions.
Do we need to inspect every chair after every event?
Use a risk-based method. Inspect every item that was moved unusually, dropped or reported, then sample each furniture group and all high-movement zones. Increase coverage when a recurring defect appears.
What should a furniture damage log include?
Record date, event type, room zone, item or batch, movement method, defect, immediate action and follow-up owner. Photographs help when they show the same angle and include a location reference.
When is repeated damage a purchasing issue?
When failures cluster by model, connection, finish or movement pattern despite correct handling, review the product specification and supplier evidence rather than treating each repair as an isolated incident.
Share this article: